The very first step is to cover the floor with roofing felt. This provides a vapor barrier to help keep the wood from expanding and contracting too much.
Next you lay down the boards: each board is labelled with a room and row letter combination, and these codes match up with a floor plan map which Whiskey Flats provides with the flooring. This map tells you which width of boards you are using for the next row and ensures that you don't run out of wide boards partway across the living room. The hardest part of the job is sometimes finding the board you need in the pile!
When you are ready to put a row down, you leave a gap between
 the first and last boards and the wall to allow for expansion. When you are partway down the row, you butt each board right up against the previous one. The ends are all cut perfectly straight at the factory (well, I hit one board today out of the whole batch that wasn't, and I just used it as a row starter instead). The last board in a row will have to be trimmed to fit.
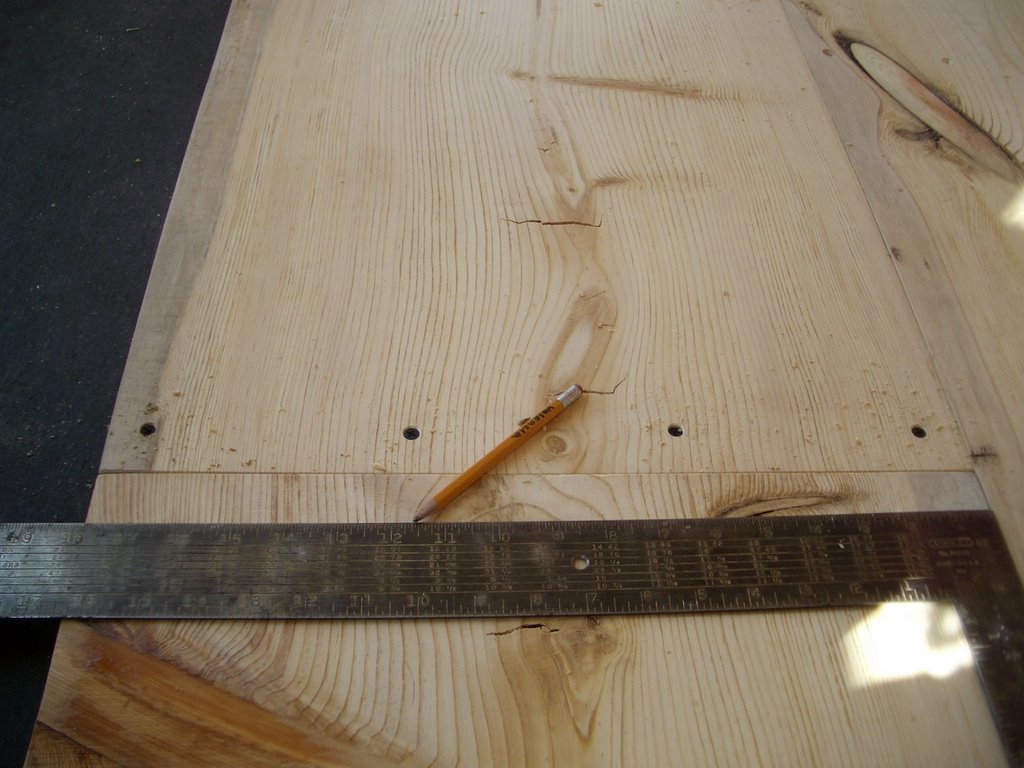
Using a carpenter's square you mark the places you'll put the screws in, evenly spaced across the board. On narrow boards you only need 2 screws, wider ones need 3, and the very wide boards (like this one) need four. You work your way down the board, marking at evenly spaced intervals (about 12-18" apart). Doing the math to figure out the spacing of the screws is the most time consuming aspect of this job!
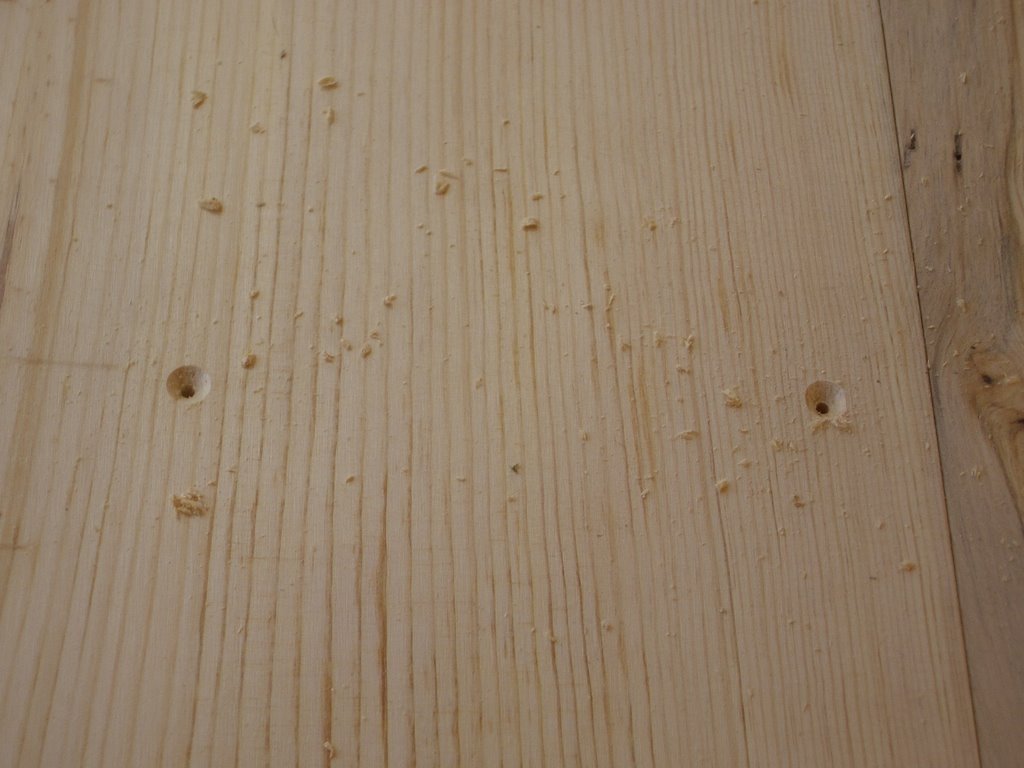 Once you have it all marked, you predrill the holes using a drill bit with a countersink attachment. This makes small craters where the screw heads will go. I use two drills: one with the drill bit and one with a screwdriver head. It's easier to switch drills than to constantly be changing bits.
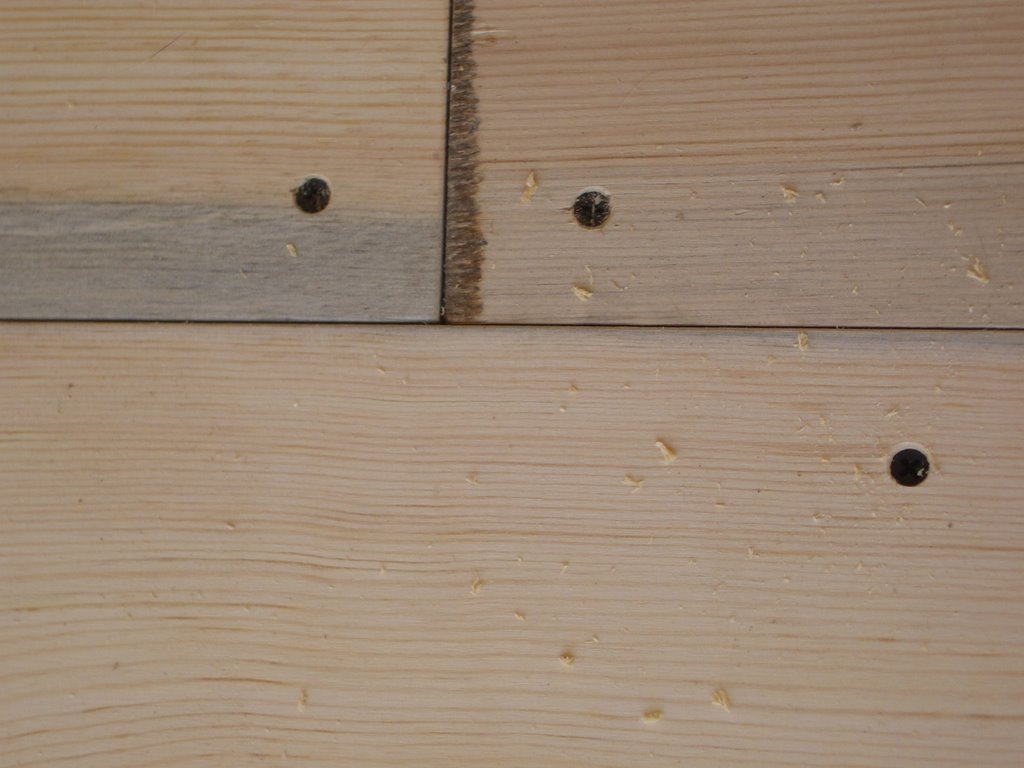
Once the holes are in place, you push the board up tight against it's neighbour and put black drywall screws in each hole - the black screw heads look a lot like nails when you are done, so it adds to the 'heritage' look.
 Once it is all laid, you rent a big floor sander and sand it mostly smooth (not totally smooth, or it'll look boring - we want to preserve those small grooves between the boards, but we need to remove any surface dings that may have been inflicted).
Clean it up, stain it, seal it.
Voila, a floor!
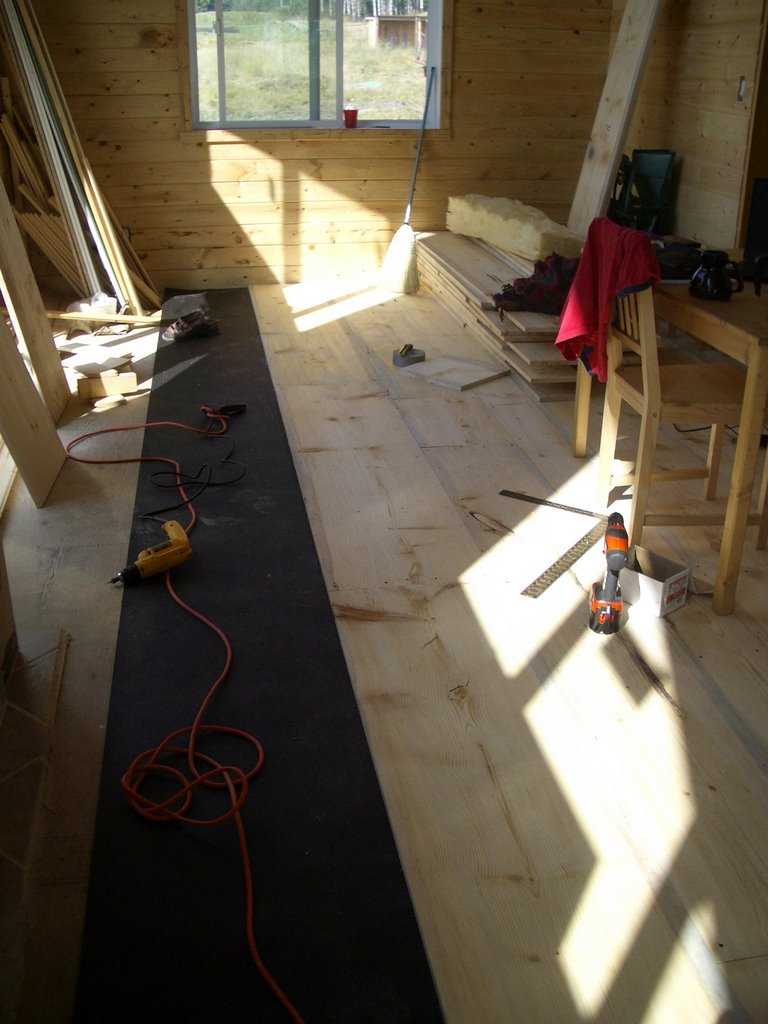
Here's an image of the work in progress:
No comments:
Post a Comment
Comments have been opened up for immediate posting - the spam filters seem to be doing their job pretty well, thankfully. I love hearing from you, thanks for taking the time to post a comment!